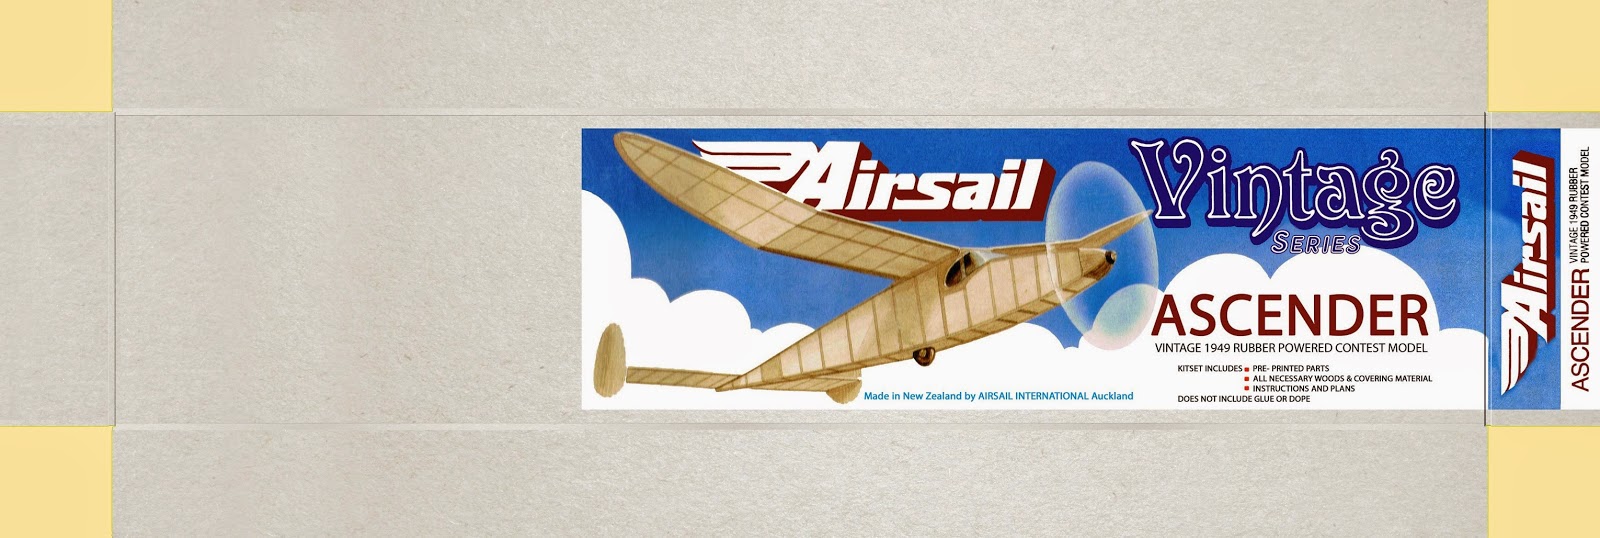
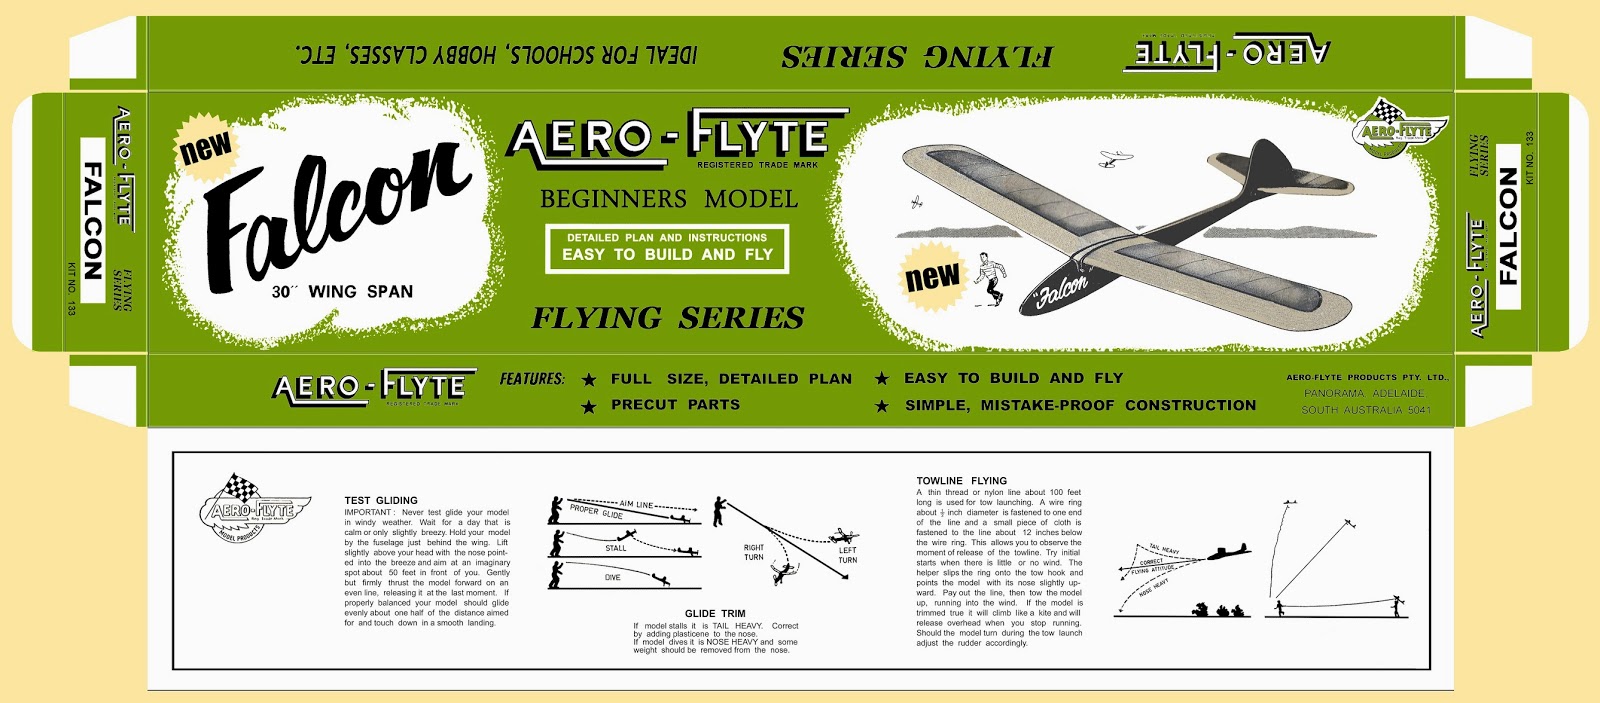
These scans of old kit boxes have been carried out by Steve Betts. They are so good, they deserve to be displayed here. We are running out of kit boxes to scan, so if you wish to contribute by sharing any kit boxes you may have, especially AeroFlyte, you may do so by scanning your kit boxes at 600 d.p.i. in .jpg with an ordinary A4 printer/scanner. You will need to leave the lid open while scanning. Just scan the box lid three times - left, middle and right - with a good overlap between scans. The same goes for the sides of the box, if applicable. Don't forget the ends of the box too, if applicable.
The condition of the boxes can be pretty poor, just so long as they are readable. Creases, tears and stains can be repaired. Help us to preserve some modelling history. Thanks to John Bauer for his contributions.
Last Updated: 1st March, 2018
 |
| This is the end of the kit box for the Gemini. Unfortunately, the rest of the box no longer exists. |
.jpg) |
| This is what the above kit box looked like before restoration. |
  |


.jpg)

.jpg)


.jpg)


.jpg)
.jpg)

.jpg)
.jpg)
.jpg)


Well Done Steve.
ReplyDeleteWell done Steve.Does anyone know what engine came with the Cougar complete beginners kit?Decca.
ReplyDeleteThanks Mark and Decca,
ReplyDeleteIn regards to you're question Decca the Cougar beginners pack came with the OS Max engine, I'm not 100% sure but maybe the OS Pet as well. I shall send John a scan of this kit showing some of the items inside as John maybe able to post it here.
Steve.
Steve.The Cherokee,Spitfire,Gemini,Cirrus and Topflite Nobler box art look great.Looking forward to the Nova.
ReplyDeleteThe Cougar beginners pack was also sold with the Fuji 099 J-II twin stack glow motor.
ReplyDeleteI think the colours for the Hummbug boxtop were orange,black and white.We built a few of these back in the 70's and they were painted as was depicted on the box.Cheers Derek.
ReplyDeleteG'Day Steve.I have recently obtained kits of the following models,The Aeroflyte Jupiter,Apollo intermediate r/c trainer,Veco Chief c/line and Topflite Jnr Nobler and will do scans of boxtops in the near future.Cheers Derek.
ReplyDeleteJust stumbled to this site as Aeroflyte products are a personal interest of mine (like so many other modellers that cut their teeth on this range in 1960s-70s and beyond). I noticed a request for help in confirming the Aeroflyte Humbug box art. I was actually searching for this myself and this is why I ended up here. Unfortunately, I no longer have an example of the Humbug, but it was one of my first control line models in about 1974 or 75. I recall clearly that I finished my model as per the box art which had the model depicted in an overall ORANGE colour with BLUE trim. I recall I used Testor's coloured cellulose lacquer that came in large square glass bottles with a metal screw lid to paint the model. From memory the box artwork and the blue trim started wide behind the engine mount then it reduced in thickness and tapered toward the tail in a curved manner- with the curve being concave to produce a pleasing design. Pretty sure it was a symmetrical curved taper. The wings also had blue trim but I cannot recall exactly the pattern now, though it was complimentary to the style down the fuselage. The wingtips were plywood forms that were glued at vertically at 90 degrees to the sheet wing and these were glued along the wing tip. The plywood wingtip forms had a curved slot in the centre through which the end of the wing poked through to force a rudimentary aerofoil shape in the sheet balsa wing. I think the box art had these wingtips shown in blue, and there would have been some curved tapered pattern back to the wing root that I can't now recall. Regarding the rest of the Humbug box label I am certain it WAS NOT purple as shown above, which understandably is clearly based on the known Von Baron artwork. (an unbuilt example of which I own). I recall the Humbug box upper box label being much lighter/brighter in colour- and could have been a light orange or yellow-ish shade to compliment the orange/blue depiction of the model. This was very similar to the style used for the Von Baron kit box label features dark purple. Hope this helps. Good job with this site. It would be great to see some of these kits come back. Cheers...john
ReplyDeleteThanks very much, John. That has filled in a few gaps.
DeleteHello John,
DeleteThank you so much for the information given in regards to the Aeroflyte Humbug. The Humbug has been probably the hardest one to date for information even down to a workable drawing to build from, like with other Aeroflyte kits there was no plan just are build sheet for construction and the Humbug was one of them. It took some time before John "Host of this blog" managed to receive tracings of all the original Aeroflyte parts to the Humbug to be able to make an accurate CAD drawing for this particular model, I was able to supply the build sheet and in case your not aware you will find all Aeroflyte plans free to download here: http://www.hippocketaeronautics.com/hpa_plans/index.php
If you think of anything else in regards to the Humbug no matter how small please advice us, rough sketches emailed to John is are good source of getting the information understood and I'll see what I can do from there.
Regards Steve.
John B in Canberra again. (I wrote the long spiel of info above about the Aeroflyte Hummbug kit (I now know this is correctly spelt with with double "m'). I still have no definitive info, but am pretty sure this was Aeroflyte kit #157. I bought it from "Willis Toys and Sports" from the Monaro Mall in Civic (City) in Canberra. Willis closed decades ago and the Monaro Mall is now called the Canberra Centre. I can still clearly see in my minds eye where the Aeroflyte kits and Taipan engines were displayed. Referring again to the Hummbug box art depiction shown above, I'm fairly confident the view angle depiction of the model differed from that shown- from my recollection it was from the left (port side) of the model but was more from above than below as shown. I say this because I was not very imaginative when it comes to conjuring up colour schemes for models (I'm still challenged!). For that reason I followed the box art and I am pretty sure the box art depiction showed clearly for me the blue design down the full side of the fuselage (this design being fully above the wing) and also the design on the wing upper surfaces which I duly tried to copy as best as I could as an 11 year old. Bit of a correction on the finish I used: It was actually called "Testor's Hot Fuel Proof Dope" and came in 3-1/2 Oz jars (large size) which I have learnt was a cellulose acetate butyrate product apparently known as CAB. It was not the type of dope we used for shrinking tissue/fabric, but used to provide a pigmented fuel proof finish. If anyone has any jars of Testor's Hot Fuel Proof Dope product please post. I would love to use it to recreate my original Von Baron and Hummbug models (using reproduction kit parts of course to preserve surviving kits). Testor's CAB colours I'm after are Burgundy, Orange and Mid-Blue. I hope these posts will unearth an original complete kit for reference purposes. Yes- I found the Hummbug parts tracings at hippocketaeronautics. A fantastic resource. Thanks for you kind words John and Steve. Cheers...john B.
ReplyDeleteThanks again John,
ReplyDeleteAs a school kid I use to fly control line models with are few other kids at our local school play ground, one of these kids showed up one day with a Hummbug model that his father built for him from the kit. If only I knew back then that I would be interested in this type of stuff many years later I would of most definitely gone around and picked up the empty box. Unfortunately the Hummbug didn't survive one tank of fuel as he was only learning and he thought there's nothing to it in flying these simple flying models and the rest is history.
Hi Steve well done on the box art would you mind giving me a call as you obviously have some talents. Or please email me on sales@rcwholesale.com.au
ReplyDeleteI built and flew the Hummbug in the late 1970s. As mentioned by John B above, it was indeed depicted as being viewed from above, and not below, like the Von Baron. As I recall, the colours used on the box label were dark purple, yellow, black & white. The plane itself was coloured a dark purple, with a lenticular yellow canopy. This inspired me to also paint my model purple (using Testors Spray Paint). What attracted me to the model (apart from the psychedelic colour scheme ;-)) was its unusual design. I really enjoyed flying it, but it was more of a trainer than a stunt model. I wish I still had the box though...
ReplyDeleteIs Steve still working on this project? I reckon I have at least a couple of versions of boxes to add.
ReplyDelete