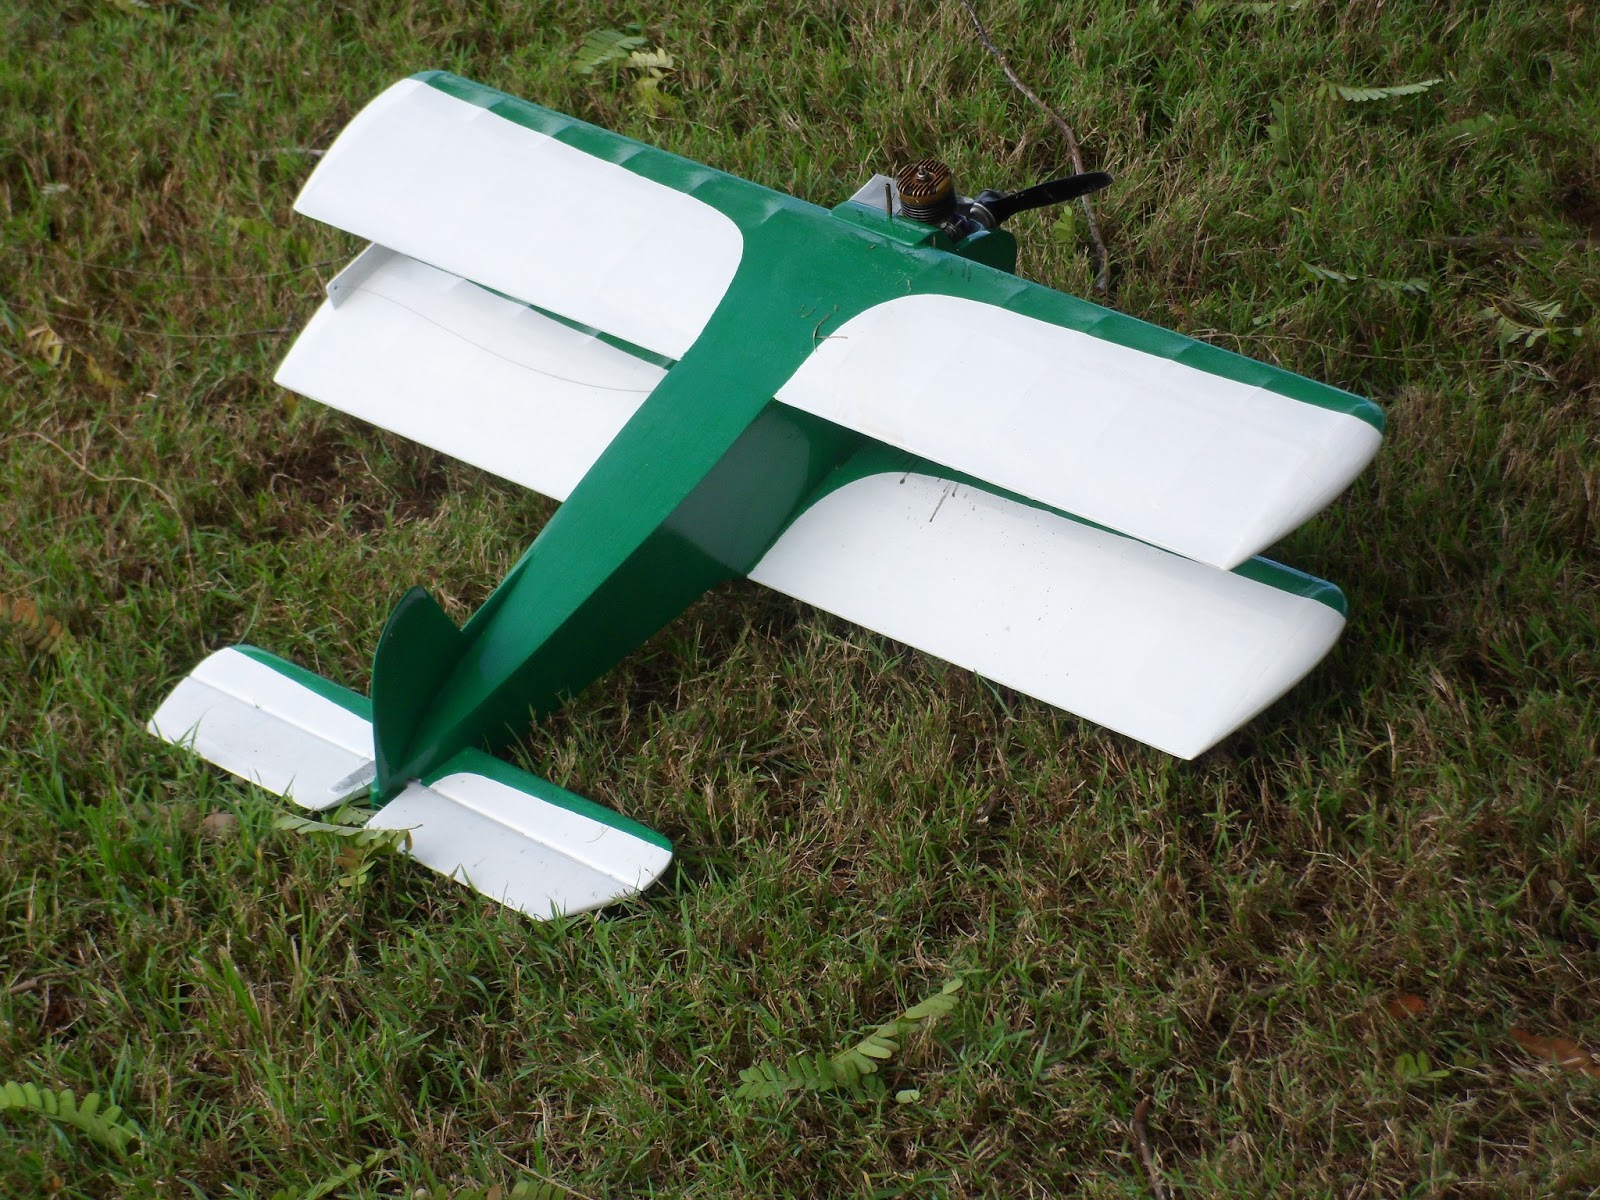
Well, this is my attempt for Indoor
Control Line Flying. I downloaded Tania Uzunova's plans from
Stunthangar.com.
I bought the depron foam from Trade
Warehouse Direct in WA. (good, fast service). I got 4 sheets of 3mm
and 3 sheets of 6mm. The Gee Bee took a little over one and a half
sheets of 6mm and close to a full sheet of 3mm.
The rest I got from Hobby King in
Sydney.......
1 Turnigy MAX80W 7A LiPo charger with
balancer
1 AM1002A/17459 2mm gold connectors
(20 pcs)
1 Tz12A/25867 Hobbyking 12A ESC
1 pack 9329000028/30299 Slow Fly
props 1045 (4 pcs)
2 N850.2S/35168 Turnigy Nano Tech
850mA/Hr 2S (2 cell) ~40C LiPos
2 2205C-1400/20627 2205C 1400KV
outrunner motors Edit: 20/08/13. These motors are listed as 1400KV, which means they will do 1400 revs per volt. I am using 2S Lipos (7.4volts) and I cannot get more than 4700 rpm out of either motor. They should do 10000rpm. I do not recommend buying them.
The timer is used for the following
functions:
When the system is turned on the timer
provides an adjustable delay before the motor starts to give you time
to get out to the control handle. The motor then starts and runs for
a pre-programmed time up to 10.5 minutes. The motor will turn off and
on 3 times to alert you that the time has almost run out. Fifteen
seconds later the motor stops and the plane can be landed. There's a
bit more to it than that but it gives you the basic idea. There are
other timers available also.
Dubro wheels and 2mm carbon pushrod
from Tiger Hobbies, Launceston
Bellcrank , control horn and engine
mount made from PCB (Printed Circuit Board).
Some guys are using old Compact Discs
for the bellcrank & control horn. (Light and strong)
Braided fishing line - local tackle
shop. Minimum 14lb (6.3kg) breaking strain.
Paint is acrylic poster paints from the
local newsagency. $12.00 for a pack of 12 colours.
The Depron must be cut with a very
sharp knife. Replace the blade often to avoid tearing the depron.
I did not have a great deal of luck
using foam safe super glue as recommended and had to use kicker to
get it to go off. If too much kicker was used, it melted the foam. In
the end I reverted to Titebond wood glue (which sticks like poop to a
blanket!) and 5 minute epoxy for the engine mount, bellcrank and
control horn.
I hinged the elevator by using 50mm
wide, clear post office sticky tape the full length of the hinge
line.
I am not sure where the C of G is
supposed to be but I will start at 25% chord.
[EDIT]: Peter Allen advised that CG & LO positions are listed half way down this page:- http://stunthanger.com/smf/index.php?topic=19265.0 (CG 2" back from LE, Lead out 6" back from LE.)
The weight has ended up at 250 grams
(approximately). I probably should not have painted it. Paint is
heavy.
Anyway, this will do me for my first
attempt. Now I just need a place to fly it. I am hoping the local
council will let me use the indoor basketball courts. Hopefully I will post a video of the first flights in the coming weeks.
+(Medium).JPG) |
Here are the electrics from Hobby King.
The rectangle at the lower right is the ZTRON timer. |
 |
I even put the depron offcuts to good use
with this foam version of a Hangar Rat.
Putting the airfoil into the foam for the hangar rat was interesting. I rolled the depron with a dowel about the diameter of a broom stick, (actually, it was a broom stick), while exerting a lot of downward force. The foam would not deform sufficiently to give a decent airfoil and I found that the depron seems to have a "skin" on one side and a "grain" running in one direction. I ended up using a piece of scrap depron and tried rolling it each of four different ways. Only one of those ways was satisfactory. I can't tell you which was the right way because you can't see the "grain" or the "skin".
So if you are going to try deforming depron, use a piece of scrap to find the correct orientation to roll.
If anyone wants any further info, contact me at johnmoody@westnet.com.au
|


.jpg)
+(Medium).JPG)


